
Practical guide
How to extract a useful still frame, not just any frame
A frame extractor is most useful when it shortens a real editing or documentation task. The goal is rarely to create hundreds of nearly identical files. It is usually to find the one expression that makes a thumbnail readable, capture the exact interface state needed in a help article, or preserve a clear visual reference from a lecture, experiment, interview, or product demonstration. Frame Extractor keeps that work in the browser: you choose a video from your device, the browser decodes it locally, and only the still images you approve are downloaded.
This guide explains the decisions that matter before you click Start Extraction. The right mode depends on whether you know the timestamp, how quickly the scene changes, and how many candidates you can realistically review. Output format depends on what happens next: PNG is useful when small text and interface edges must survive editing, while JPG is normally easier to share when the image is photographic. The source file still sets the ceiling. A 720p video cannot become a genuinely detailed 4K photograph simply because a larger export size is selected.
A repeatable five-step workflow
Use this sequence when the frame will be published, handed to a colleague, or kept as evidence. It adds a short review stage that prevents most soft, duplicated, or contextless exports.
1. Check the source before extracting
Play the video in the same browser first. Confirm that picture, duration, and seeking work. MP4 with H.264 video is broadly compatible, but a familiar file extension does not guarantee that the codec inside is supported. If the browser cannot seek the clip, convert a working copy with a trusted desktop encoder before attempting extraction.
2. Match the mode to what you know
Choose Count when you need a quick visual index, Interval when regular coverage matters, Keyframes when you want a fast scene-level scan, or Timestamps when a note, transcript, or edit list already identifies the moment. For long recordings, begin broad and then run a second, narrower pass instead of generating an unmanageable gallery.
3. Inspect adjacent moments
The first plausible image is often not the sharpest one. Motion blur can peak midway through a gesture, a blink can spoil an interview still, and a transition can leave text half rendered. Compare nearby candidates and favor a frame with stable edges, a readable subject, and enough visual context to make sense outside the video.
4. Choose output for the next task
Use PNG for software screenshots, diagrams, slides with text, or images that will be masked and edited. Use JPG for camera footage, social drafts, and lightweight review documents. Keep original resolution for an archive or design handoff; choose a smaller preset only when faster transfer and a smaller file are more important than retaining every source pixel.
5. Export a deliberate shortlist
Deselect weak candidates before downloading. Give the final files descriptive names after export, ideally including the source, subject, and timestamp. If the images show people, private workspaces, account details, or unreleased products, store them with the same care as the original video and remove temporary copies when the task is complete.
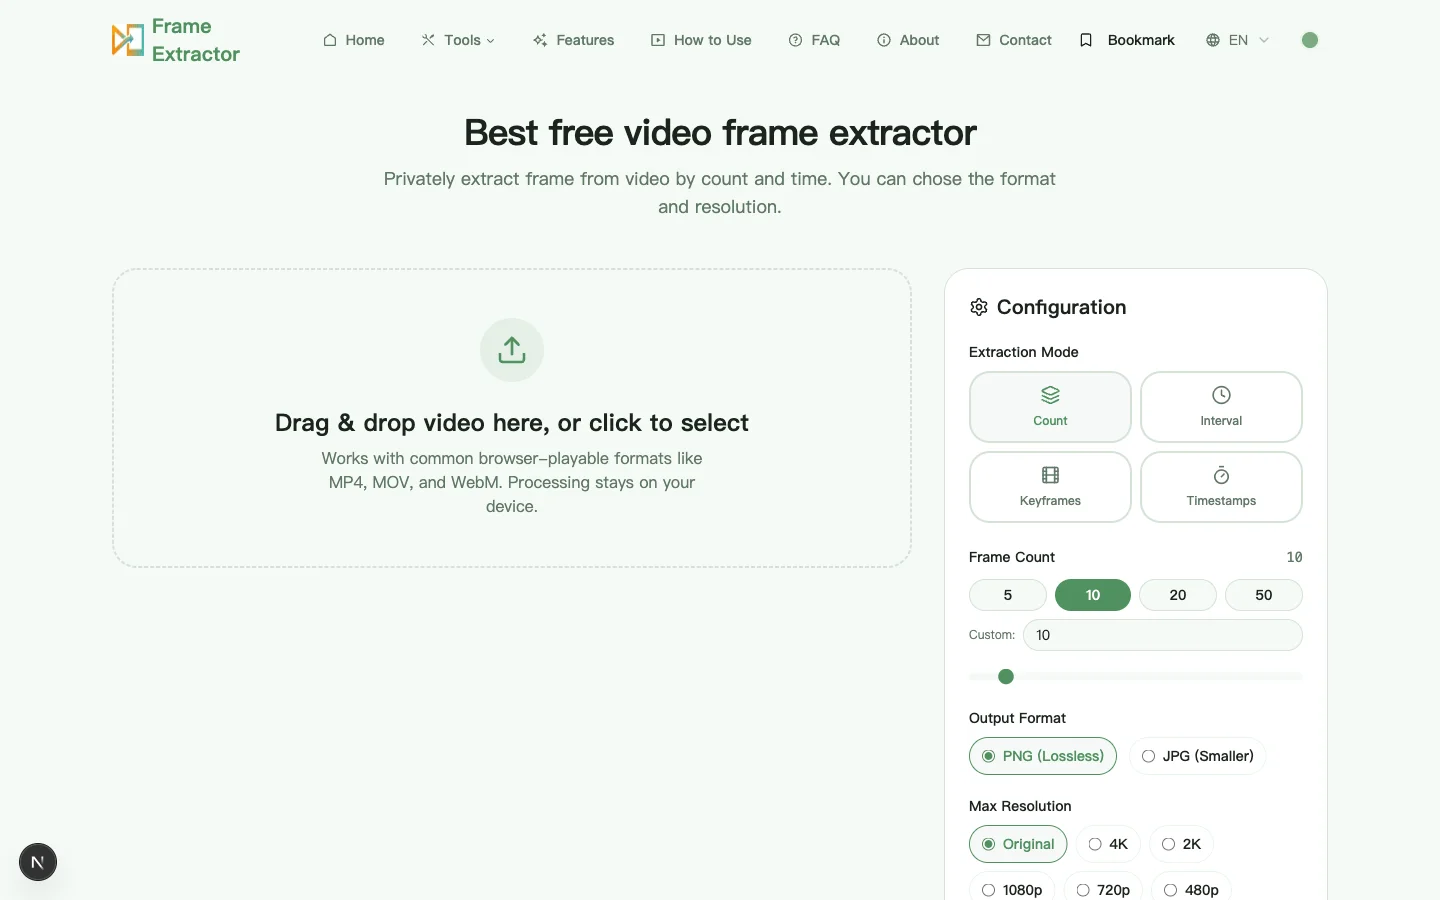
Choosing between the four extraction modes
The modes solve different review problems. More output is not automatically better: every extra candidate has a storage and attention cost.
| Mode | Best fit | Watch for |
|---|---|---|
| Count | A contact-sheet overview of an unfamiliar or short clip. | Equal spacing can miss a brief action between samples. |
| Interval | Lessons, observations, or processes that need regular time coverage. | A small interval creates many similar images and uses more memory. |
| Keyframes | A fast first pass across edits and major visual changes. | Codec keyframes mark compression structure, not necessarily the best-looking moment. |
| Timestamps | Transcripts, shot lists, QA evidence, and known moments. | Check whether your note uses elapsed time or a player timecode with a different offset. |
Quality, privacy, and realistic expectations
Extraction does not reconstruct detail that is missing from the source. Heavy compression, low light, digital zoom, and motion blur remain visible in the still. If several nearby frames are soft, look for a pause in movement rather than increasing export dimensions.
The selected video is read by browser APIs on your device. The application does not need to upload the video or generated frames to perform extraction. Normal site infrastructure may still receive standard request information such as an IP address, browser user agent, page URL, and analytics events; the Privacy Policy explains those separate data flows.
Long or high-resolution videos can pressure browser memory because decoded frames are much larger than the compressed source file. Close unnecessary tabs, extract fewer candidates per pass, and prefer an interval or known timestamps for multi-hour recordings. A desktop editor or command-line workflow is a better fit for automated processing of many files.
Notes from repeated workflow checks
- For talking-head footage, the cleanest frame usually appears just before or after the most expressive gesture, when the face has stopped moving but the expression still reads naturally.
- For software demonstrations, timestamp mode is more reliable than broad sampling because menus and confirmation states may be visible for less than a second.
- For product turns or classroom experiments, interval mode creates a useful sequence only when the interval reflects the pace of change. Start with a coarse pass, then tighten it around the important segment.
- We do not publish a universal “frames per second” claim. Browser, codec, source dimensions, duration, extraction count, and device memory all change the result, so a single speed figure would be misleading.
When another tool is the better choice
- Use a desktop video editor when you need frame-accurate timeline work tied to audio, color management, deinterlacing, or a specific production color space.
- Use FFmpeg or another established batch engine when you need a repeatable command across many files, deterministic naming, metadata logs, or server automation.
- Use the browser extractor when the job is selective and visual: one local clip, a manageable gallery, and a human decision about which stills are actually useful.